Summary: in this tutorial, you will step by step learn how to install PostgreSQL on your local system.
PostgreSQL was developed for UNIX-like platforms, however, it was designed to be portable. It means that PostgreSQL can also run on other platforms such as macOS, Solaris, and Windows.
To install PostgreSQL on Windows, you follow these steps:
- First, download the PostgreSQL installer for Windows.
- Second, install PostgreSQL using the installer.
- Third, add the path to the PostgreSQL’s bin directory to the PATH environment variable.
1) Download PostgreSQL Installer for Windows
First, go to the download page of PostgreSQL installers on the EnterpriseDB.
Second, download the PostgreSQL for Windows x86-64 version 16.1 (or the latest version). It’ll take a few minutes to complete.
2) Install PostgreSQL on Windows step-by-step
To install PostgreSQL on Windows, you need to have administrator privileges.
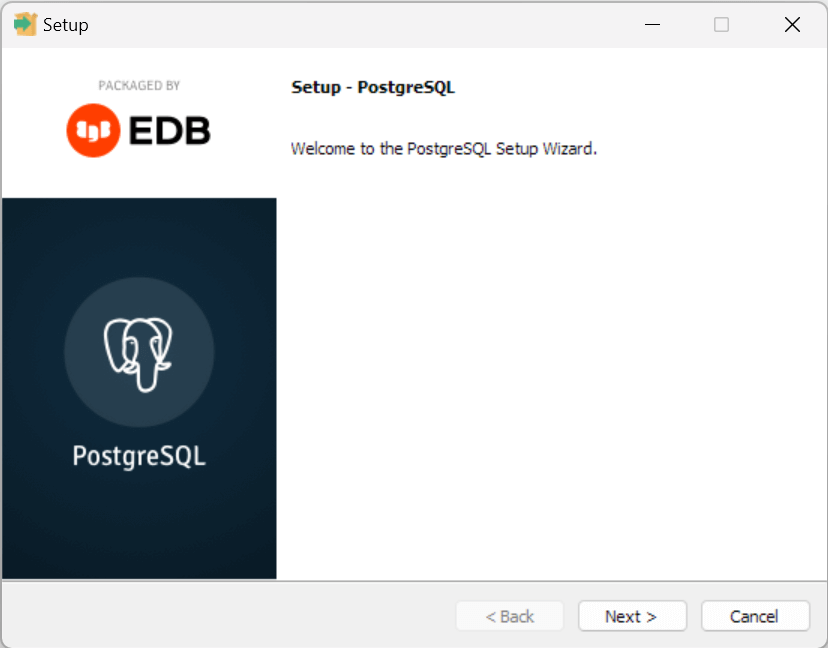
Step 1. Double-click on the installer file and an installation wizard will appear and guide you through multiple steps. Hence, you can choose various options based on your preferences for PostgreSQL.
Step 2. Click the Next button
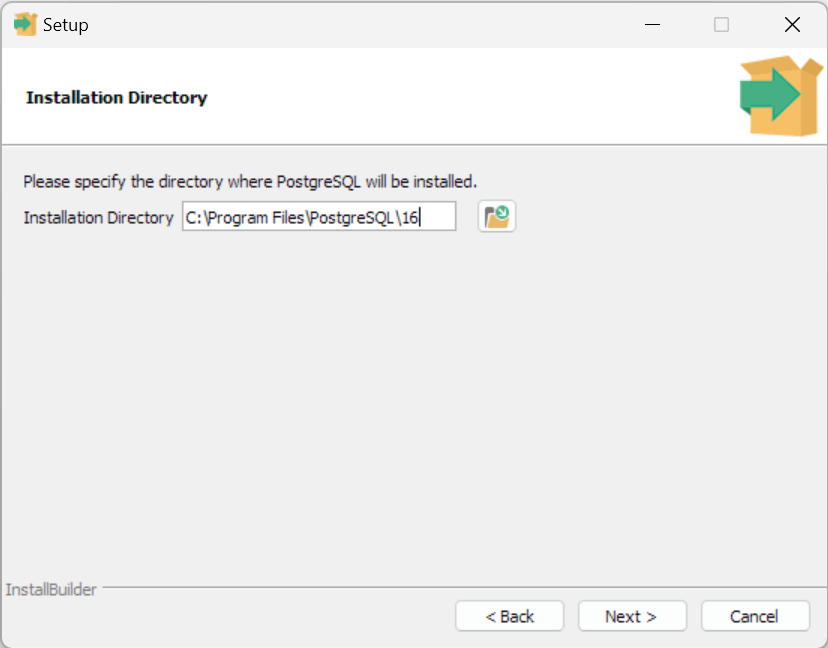
Step 3. Specify the installation directory by either choosing your preferred location or using the default folder suggested by the PostgreSQL installer and click the Next button
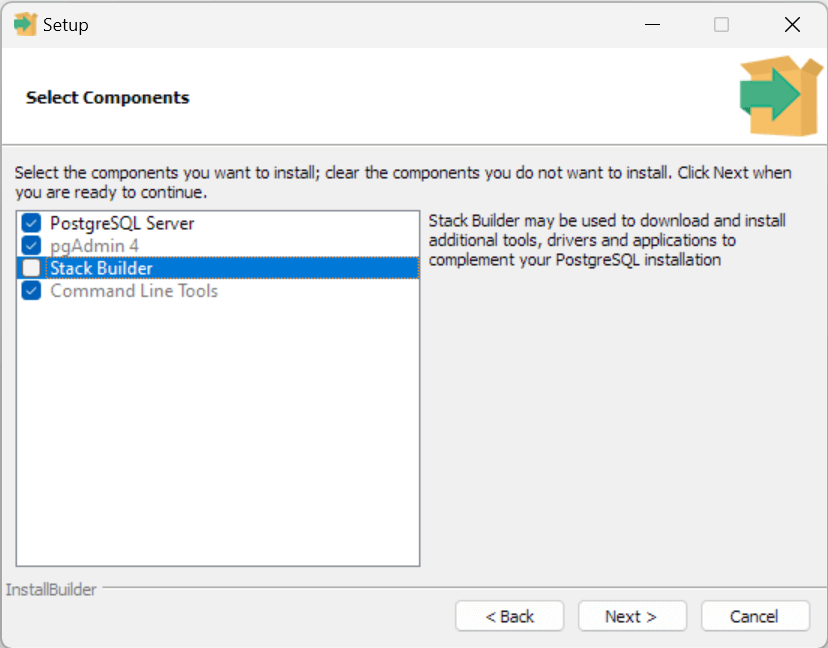
Step 4. Select software components to install:
- PostgreSQL Server option allows you to install the PostgreSQL database server
- pgAdmin 4 option allows you to install the PostgreSQL database GUI management tool.
- Stack Builder provides a GUI that allows you to download and install drivers that work with PostgreSQL.
- Command Line Tools option allows you to install command-line tools such as
psql,pg_restore, and so on. These tools allow you to interact with the PostgreSQL database server using the command-line interface.
For tutorials on this website, you can skill installing Stack Builder. Feel free to uncheck it and click the Next button to proceed to the data directory selection:
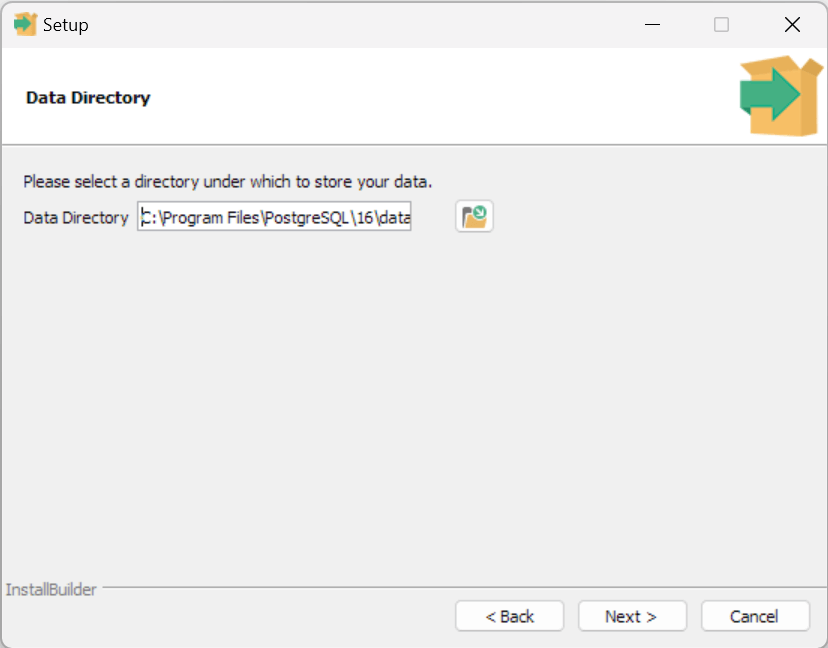
Step 5. Choose the database directory to store the data, or accept the default directory. Click the Next button to proceed to the next step:
Step 6. Enter the password for the database superuser (postgres).
After entering the password, retype for confirmation, and then click the Next button:
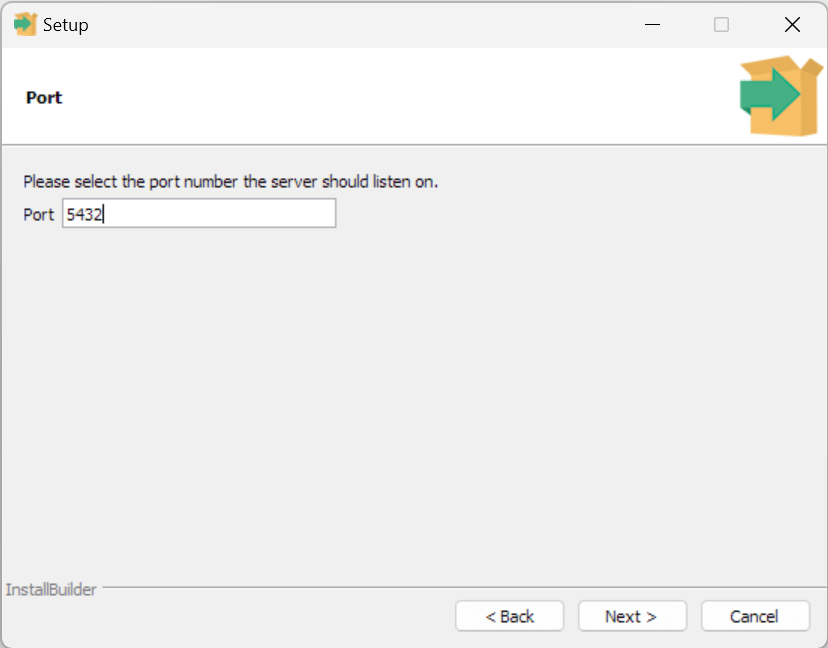
Step 7. Specify a port number on which the PostgreSQL database server will listen. The default port of PostgreSQL is 5432. Ensure that no other applications are using this port.
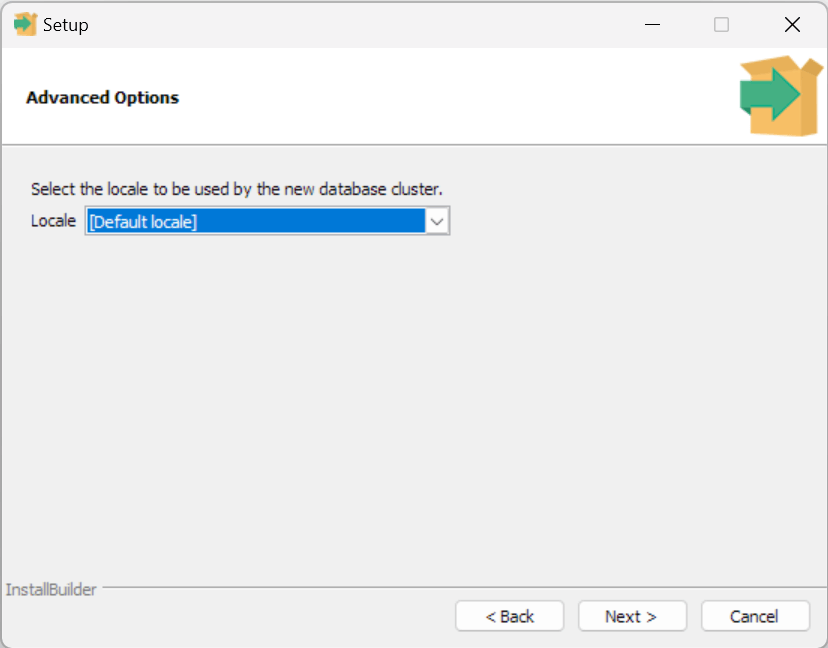
Step 8. Select the default locale for the PostgreSQL server. If you leave it as the default, PostgreSQL will use the operating system locale. Afterward, click the Next button.
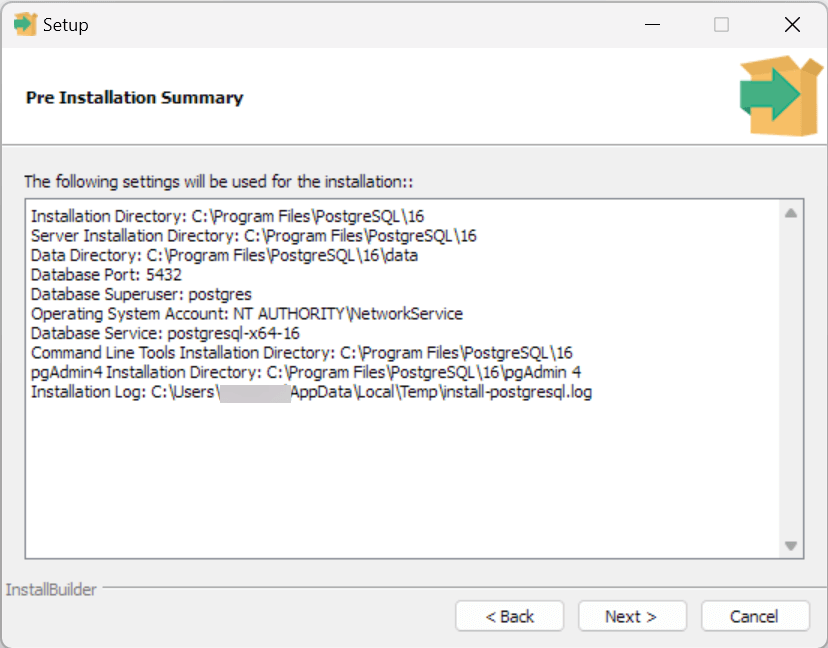
Step 9. The setup wizard will show the summary PostgreSQL information. Review the details, and if everything is correct, click the Next button. Otherwise, click the Back button to adjust the configuration accordingly.
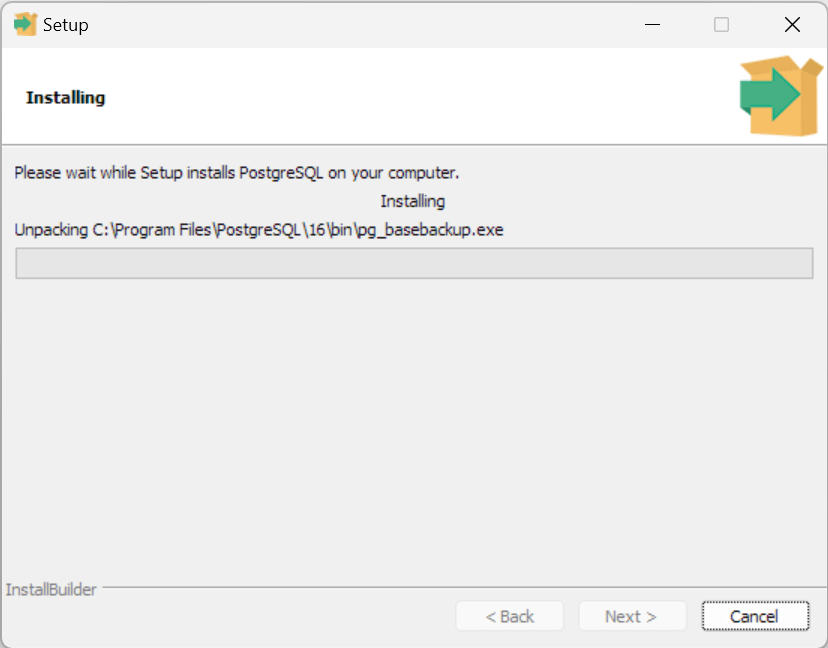
Now, you are ready to install PostgreSQL on your computer. Click the Next button to initiate PostgreSQL installation.
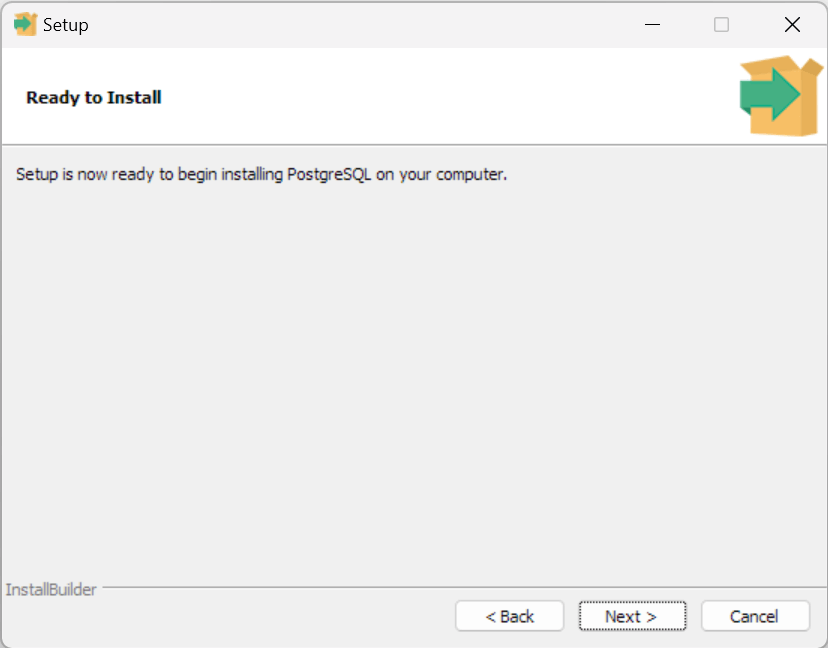
The installation may take a few minutes to complete.
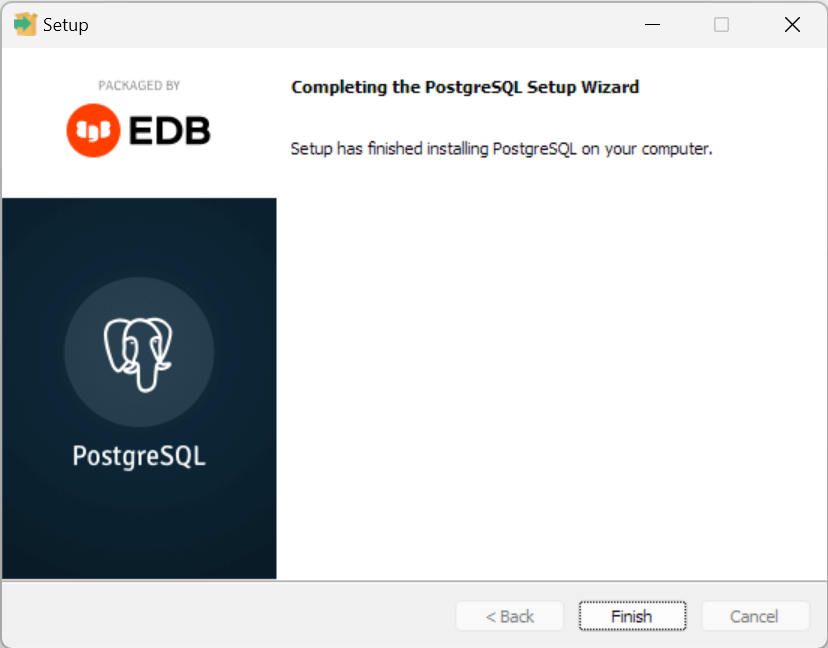
Step 10. Click the Finish button to complete the PostgreSQL installation.
3) Adding bin directory to the PATH environment variable
By adding the bin directory of the PostgreSQL to the PATH environment variable, you enable the execution of common PostgreSQL tools, such as plsql and pg_restore, from any directory without the need to navigate the bin directory first.
First, find the path of the bin directory of the PostgreSQL installation directory. Typically, it is set to the following:
C:\Program Files\PostgreSQL\<version>\binCode language: HTML, XML (xml)The <version> is PostgreSQL’s specific version. For example, if you install PostgreSQL 16, the path to the bin directory will look like this:
C:\Program Files\PostgreSQL\16\binSecond, open the environment variables:
- Press
Win + Rto open the Run dialog - Type
sysdm.cplan press Enter. The System Properties dialog will display. - Select the Advanced tab and click the
Environment Variables...button.
You’ll see two sections in the Environment Variables window:
- User variables for [YourUsername]
- System variables.
Usually, you can edit the PATH variable under the System variables section, but if you want to add the path only for your user account, you can edit the User variables section.
Third, select the Path variable under the User variables and click the Edit button.
Fourth, in the Edit Environment Variable window, click the New button.
Fifth, enter C:\Program Files\PostgreSQL\16\bin and click OK to add it to the list of paths.
Finally, click the OK button to close the Environment Variables window and click the OK button to close the System Properties window.
Congratulations! You’ve successfully installed the PostgreSQL database server on your local system. Let’s learn various ways to connect to the PostgreSQL database server.